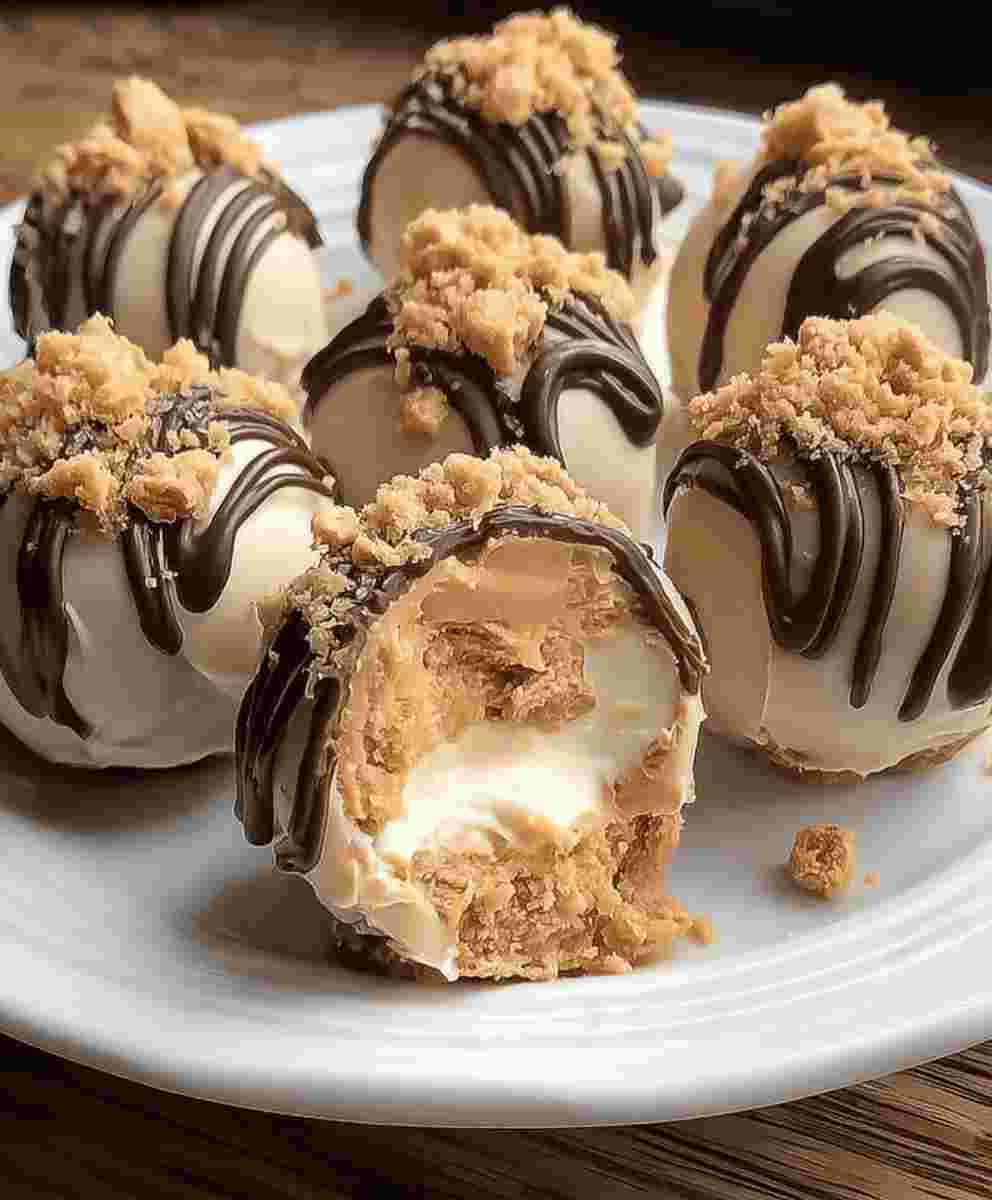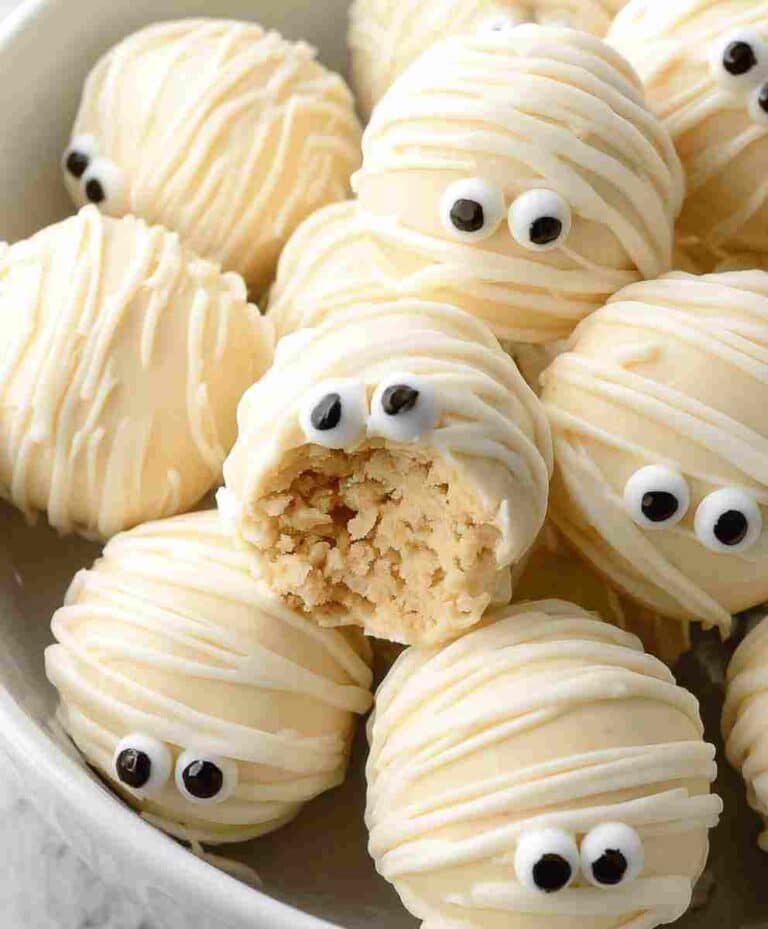
If you’re searching for the perfect easy Halloween dessert that’s fun, spooky, and completely irresistible, these Mummy Oreo Balls are about to become your new favorite treat. Imagine biting into a creamy, chocolatey center with a rich vanilla coating and adorable candy eyes peeking out it’s a bite-sized dessert that’s equal parts festive and delicious.
This recipe is the ultimate combination of simplicity and creativity. You don’t need to turn on your oven or spend hours in the kitchen. With just a few simple ingredients Golden Oreos, cream cheese, candy melts, and candy eyes you can whip up these no-bake Halloween treats in under an hour. Whether you’re hosting a kids’ party, need a last-minute Halloween snack idea, or want something fun for the office potluck, these Mummy Oreo Balls are guaranteed to disappear fast.
Why You’ll Love This Recipe
- Quick and Easy to Make: No baking, no fuss. Perfect for beginners or busy home cooks looking for simple Halloween dessert ideas.
- Kid-Friendly and Party-Ready: A fun activity to make with children and a guaranteed crowd-pleaser at any Halloween gathering.
- Budget-Friendly Treat: Uses just four affordable ingredients you can easily find at any grocery store.
- Customizable for Any Holiday: Switch the candy colors or decorations for Christmas, Valentine’s Day, or birthdays.
- Perfect for Meal Prep and Make-Ahead Desserts: These Oreo balls can be made days in advance and stored in the fridge or freezer.
- Great for All Ages: Sweet, creamy, and crunchy the ultimate family comfort food for dessert lovers everywhere.
Ingredient Breakdown
Golden Oreos: The star of the show! Golden Oreos provide a sweet vanilla base that pairs beautifully with the cream cheese filling. If you prefer chocolate, you can easily substitute regular Oreos for a darker, richer flavor. These cookies are perfect for budget-friendly dessert recipes and blend smoothly for that truffle-like texture.
Cream Cheese:The secret ingredient that binds everything together. Cream cheese adds richness and creaminess, transforming crushed cookies into a smooth, velvety filling. It’s the key to achieving that classic Oreo truffle texture.
Vanilla Candy Melts or Dipping Wafers:These create the smooth, glossy “mummy wrap” coating that makes the dessert look festive. Choose high-quality candy melts for easier dipping and better flavor. White chocolate chips can work as a substitute in a pinch.
Candy Eyes:A fun finishing touch that brings your mummies to life! You can find candy eyes at most grocery stores or craft stores, especially around Halloween. If you can’t find them, use mini chocolate chips instead for a DIY twist.
Pro Tips for Perfect Mummy Oreo Balls
- Use Softened Cream Cheese: Room-temperature cream cheese mixes more smoothly, preventing lumps in your filling.
- Chill Before Dipping: Cold truffles are easier to handle and less likely to fall apart when coating them.
- Avoid Overheating Candy Melts: Melt in short bursts, stirring in between, to keep your chocolate smooth and glossy.
- Use a Fork, Not a Skewer: A fork allows excess coating to drip off easily, giving your mummies a cleaner finish.
- Work Quickly When Decorating: Candy eyes stick best before the coating hardens.
Ingredient Swaps or Variations
- Chocolate Mummy Balls: Use traditional Oreos instead of Golden Oreos for a richer, cocoa flavor.
- Gluten-Free Version: Substitute gluten-free sandwich cookies for a gluten-free dessert recipe everyone can enjoy.
- Low-Carb Option: Use sugar-free cookies and keto-friendly white chocolate for a low-carb Halloween dessert.
- Flavor Variations: Add a splash of peppermint extract, pumpkin spice, or almond extract to change up the flavor profile.
- Holiday Twist: Skip the eyes and drizzle with red and green for Christmas or pink and white for Valentine’s Day.
Serving Suggestions
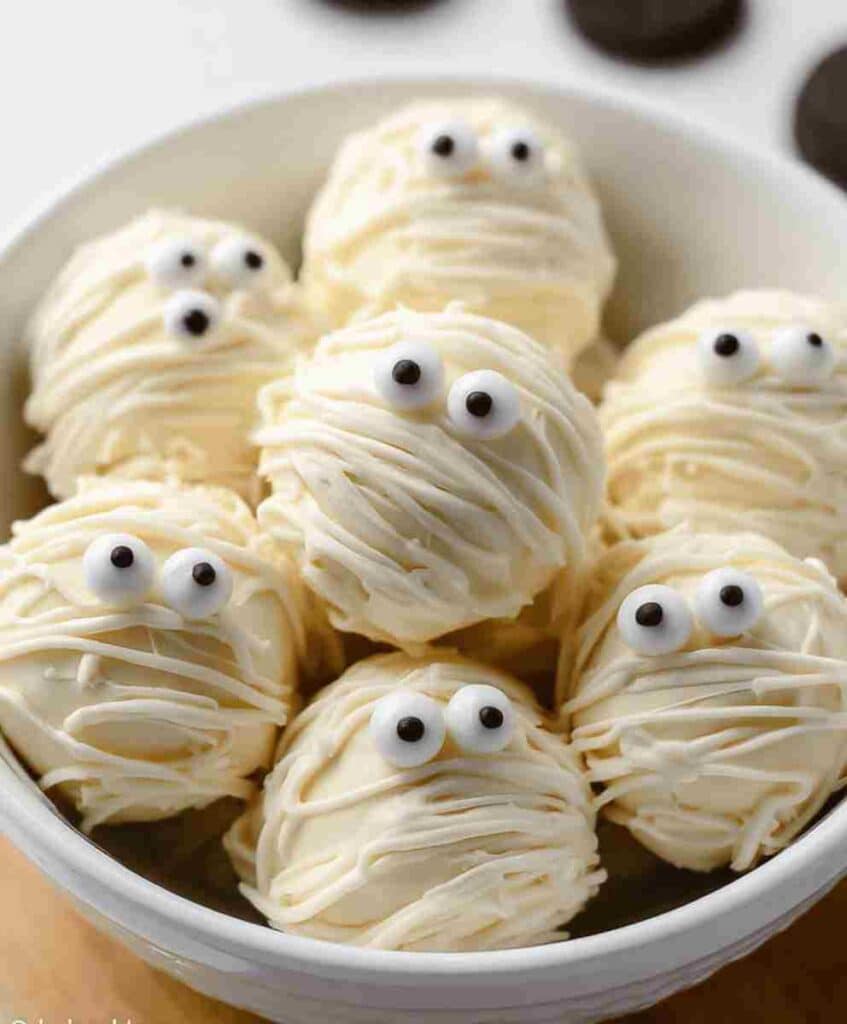
- As a Halloween Dessert Platter: Arrange them on a black or orange tray with candy corn and chocolate spiders.
- Paired with Drinks: Serve alongside hot cocoa, pumpkin spice lattes, or spiced cider for cozy fall vibes.
- As Party Favors: Wrap them individually in cellophane with ribbon for a festive takeaway treat.
- With Ice Cream: Crumble leftover Mummy Oreo Balls over vanilla or pumpkin ice cream for an indulgent sundae.
Make Ahead + Storage Tips
- Make Ahead: You can prepare and shape the Oreo balls up to 3 days in advance. Keep them covered in the refrigerator until ready to dip.
- Refrigerate: Store finished Mummy Oreo Balls in an airtight container in the fridge for up to 1 week.
- Freeze for Later: Freeze uncoated or coated balls for up to 2 months. Thaw in the refrigerator overnight before serving.
- Reheating: Not necessary just serve chilled or at room temperature!
Cultural or Historical Notes
The tradition of Halloween-themed desserts dates back to festive gatherings where families would make playful, spooky treats to celebrate fall harvests. Mummy Oreo Balls are a modern twist on classic truffles combining the nostalgia of homemade confections with fun seasonal decor. They represent the creativity and joy that come from American comfort food traditions updated for today’s kitchens.
Frequently Asked Questions
1. Can I make Mummy Oreo Balls ahead of time?
Yes! They can be made several days in advance and stored in the refrigerator or freezer. Perfect for easy Halloween meal prep.
2. How do I keep my chocolate coating smooth?
Avoid overheating. Melt candy melts slowly and stir often for a silky, even texture.
3. Can I make this recipe healthier?
Try using reduced-fat cream cheese, sugar-free cookies, and white chocolate alternatives for a healthier dessert option.
4. What can I use instead of candy melts?
White chocolate chips or almond bark work beautifully. Just add a teaspoon of coconut oil for a smoother texture.
5. Can kids help make these?
Absolutely! This recipe is one of the best family-friendly desserts kids love rolling the dough and adding candy eyes.

Mummy Oreo Balls
Ingredients
Method
- Line a large baking sheet with parchment paper and set aside.
- Pulse the Oreos in a food processor until the cookies form a very fine crumb.
- In a large mixing bowl, combine the cookie crumbs and softened cream cheese. Stir until the mixture is smooth and well blended.
- Using a cookie scoop, portion the mixture into 1-inch balls. Roll them between your palms until smooth, then place them on the prepared baking sheet. Freeze for 30 minutes to firm up.
- Melt the vanilla candy melts according to package directions. Pour into a small bowl or glass.
- Using a fork, dip each Oreo ball into the melted chocolate, turning to coat. Tap gently to remove excess chocolate and return the coated balls to the baking sheet.
- Pour remaining melted chocolate into a Ziploc bag and snip a small corner off. Drizzle over each coated Oreo ball to create mummy ‘bandages.’
- Attach two candy eyes to each truffle while the drizzle is still soft. If needed, use a dab of melted chocolate as glue.
- Refrigerate for 15–20 minutes until the chocolate is fully set. Serve and enjoy your spooky Mummy Oreo Balls!