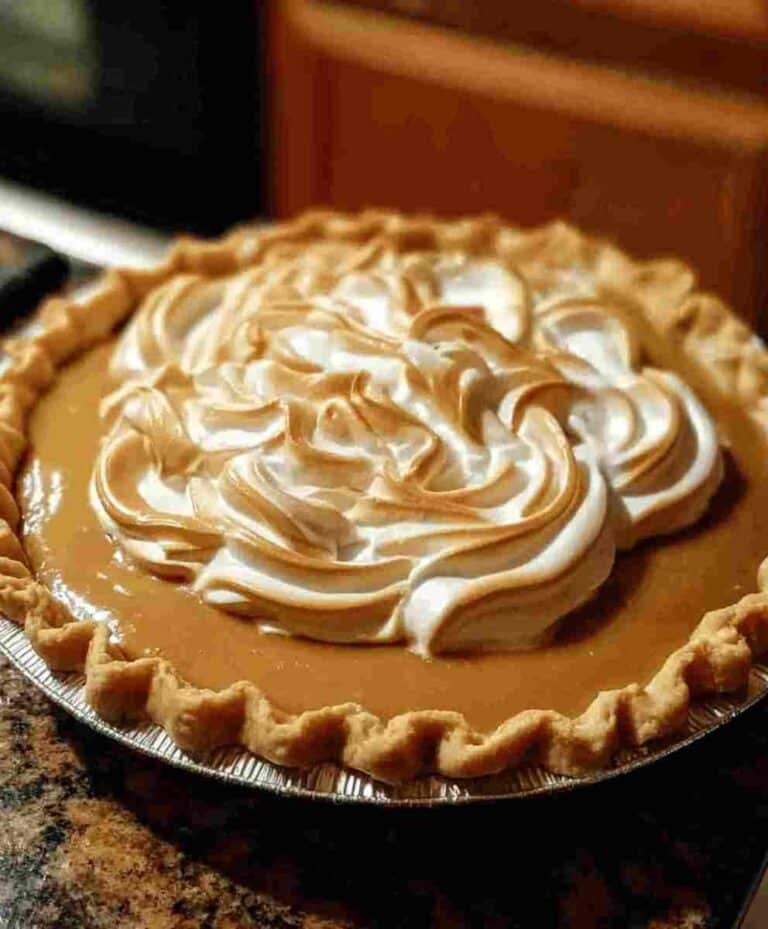
If you’re searching for a rich, silky-smooth dessert that feels like home in every bite, this Butterscotch Pie recipe is your new favorite. With its luscious caramel-like flavor, buttery texture, and flaky golden crust, this old-fashioned favorite is the ultimate family comfort food.
Made with simple, budget-friendly ingredients, this pie is the perfect dessert for holidays, weeknight dinners, or cozy weekends at home. It’s an easy dessert recipe that tastes like something straight out of a bakery but requires no special equipment or pastry chef skills.
Whether you’re looking for a crowd-pleasing dessert, a sweet ending to a Sunday dinner, or just a nostalgic treat, this Butterscotch Pie delivers the perfect balance of creamy, buttery, and indulgent flavors.
Why You’ll Love This Butterscotch Pie Recipe
- Simple and affordable: Uses common pantry ingredients no fancy baking tools or costly groceries required.
- Perfect for any occasion: Ideal for holidays, birthdays, or quick weeknight desserts.
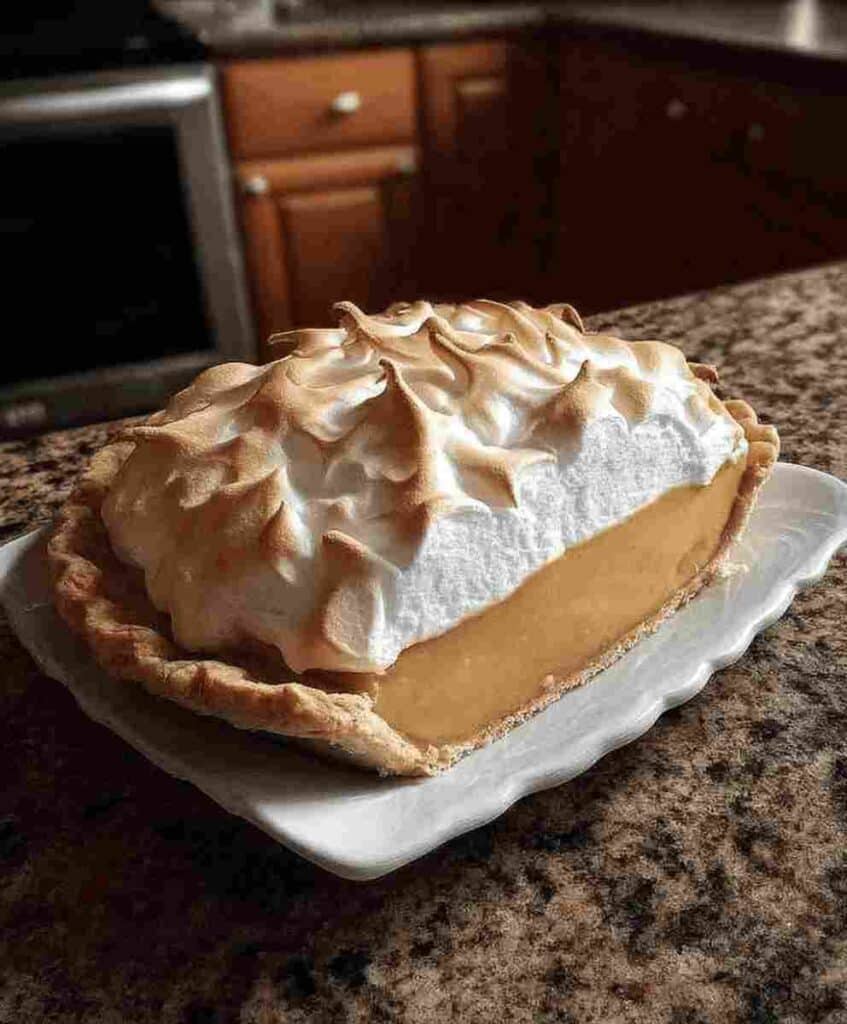
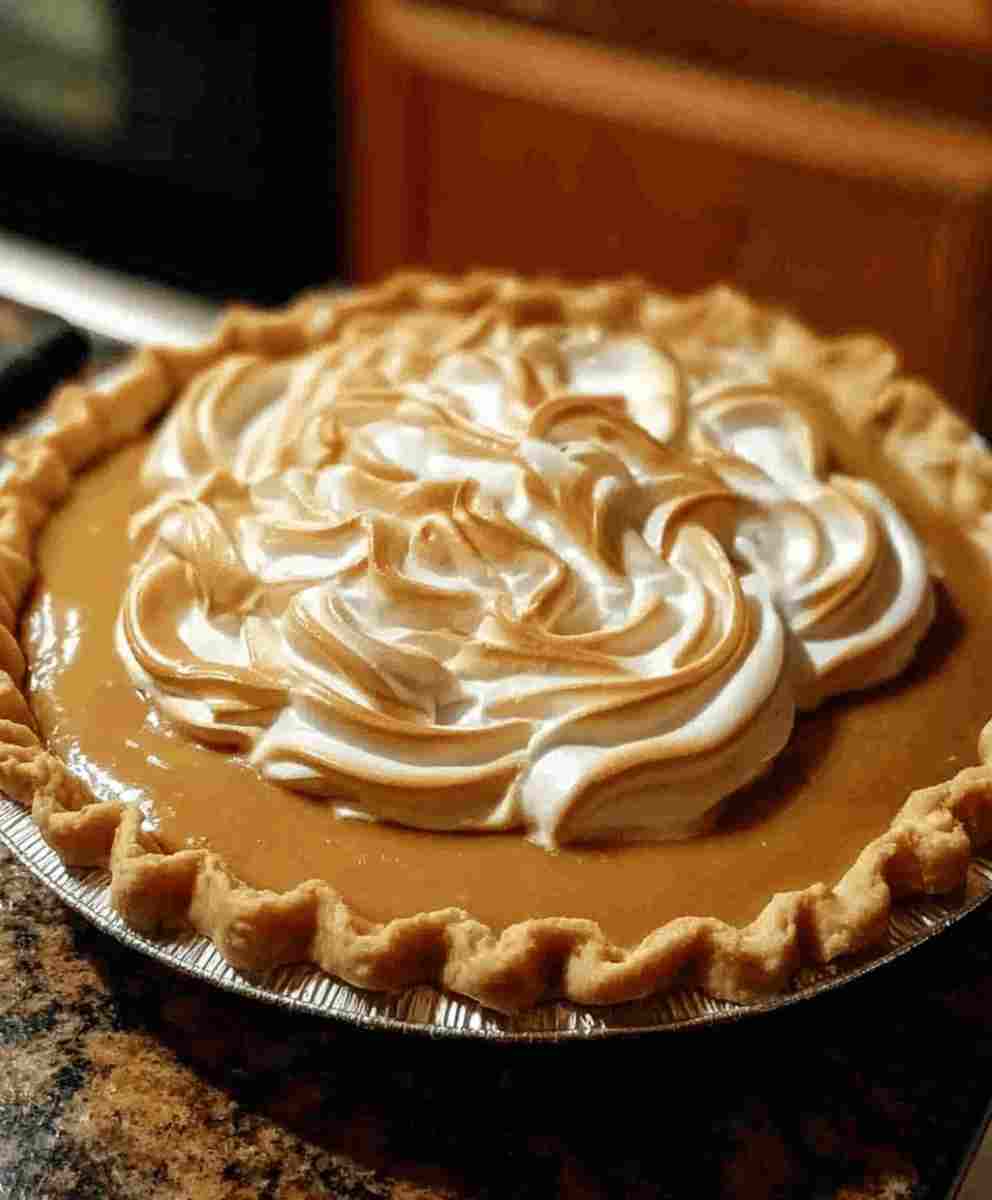
- Creamy and smooth texture: The homemade butterscotch custard filling melts in your mouth.
- Family favorite: Loved by both kids and adults a timeless recipe for generations.
- Make-ahead friendly: Can be prepared in advance and chilled before serving.
- Old-fashioned comfort: Brings that nostalgic homemade dessert feel to your table.
Ingredient Breakdown
- Light Brown Sugar: The heart of the pie’s flavor. Brown sugar adds that deep, caramelized sweetness and warm butterscotch note that defines this dessert.
- Cornstarch: A crucial thickener that helps the custard achieve its silky, pudding-like texture. It ensures your filling sets perfectly without becoming grainy.
- Salt: Just a pinch balances the sweetness and enhances the richness of the butterscotch flavor.
- Milk: Acts as the creamy base for the custard filling. Whole milk works best, but you can also use 2% for a lighter texture.
- Egg Yolks: These give the pie filling its luxurious smoothness and help bind the ingredients. They’re essential for that signature custard consistency.
- Butter: Adds richness, shine, and that comforting buttery depth that makes this dessert irresistible.
- Vanilla Extract: Rounds out the butterscotch flavor and brings a soft aromatic sweetness.
- Pre-Baked Pie Crust: The foundation of the pie. A flaky, golden crust provides the perfect contrast to the creamy filling. You can use store-bought or homemade crust both work beautifully.
Pro Tips for the Perfect Butterscotch Pie
- Use a heavy-bottomed saucepan or double boiler: This prevents scorching and helps your custard thicken evenly.
- Stir constantly: Custard mixtures can burn easily. Keep whisking gently for smooth, lump-free results.
- Temper your egg yolks: When adding hot custard to eggs, pour it in slowly while whisking to prevent curdling.
- Don’t rush the thickening: Allow the mixture to cook until it coats the back of a spoon patience is key for that perfect texture.
- Cool before slicing: Let the pie chill completely to ensure clean slices and a firm set.
Ingredient Swaps and Variations
- Gluten-Free Option: Use a gluten-free pie crust or crushed almond crust for a gluten-free dessert recipe.
- Low-Sugar Swap: Substitute part of the brown sugar with a natural sweetener like stevia or monk fruit for a healthier dessert idea.
- Dairy-Free Version: Use coconut milk and plant-based butter for a rich, creamy non-dairy alternative.
- Nutty Twist: Add chopped pecans or toasted almonds on top for extra crunch and flavor depth.
- Spiced Butterscotch Pie: Mix in a pinch of cinnamon or nutmeg for a cozy fall twist.
Serving Suggestions
- Whipped Cream or Ice Cream: A dollop of whipped cream or a scoop of vanilla ice cream makes this dessert extra indulgent.
- With Coffee or Tea: The caramel-like flavor pairs beautifully with coffee, espresso, or spiced chai.
- Holiday Serving: Top with caramel drizzle and crushed toffee bits for festive flair.
- With Fresh Fruit: Serve with sliced bananas or strawberries for a light, fruity balance.
Make-Ahead and Storage Tips
- Make Ahead: Prepare the pie filling up to 24 hours in advance. Store it covered in the refrigerator, then pour into your crust before serving.
- Refrigeration: Once baked and cooled, cover tightly with plastic wrap or foil. It keeps fresh in the refrigerator for up to 3 days.
- Freezing: Freeze the fully cooled pie (without whipped topping) for up to 2 months. Thaw overnight in the fridge before serving.
- Reheating: If you prefer a warm slice, microwave briefly (10–15 seconds) just enough to soften the filling slightly.
A Little History: The Nostalgia of Butterscotch Pie
Butterscotch Pie has deep roots in American comfort food history. Originating in the early 1900s, butterscotch became a beloved flavor in homemade candies and puddings, often associated with warmth and hospitality.
This pie version took those same flavors and transformed them into a classic holiday dessert, beloved across the South and Midwest. Today, it remains a symbol of traditional family meals — sweet, cozy, and timeless.
Every bite feels like a taste of nostalgia, reminding us of family gatherings, holiday tables, and the simple joy of home-baked comfort food.
Frequently Asked Questions (FAQ)
1. Can I make Butterscotch Pie ahead of time?
Yes! This recipe is perfect for meal prep. You can prepare the filling a day in advance and refrigerate it. Just fill your crust before serving or baking.
2. How do I keep the filling from becoming runny?
Make sure the custard thickens properly in the saucepan before removing from heat. It should coat the back of a spoon that’s your sign it’s ready.
3. Can I make this recipe healthier?
Absolutely. Use low-fat milk, a sugar substitute, or a gluten-free crust for healthy substitutions that still deliver creamy results.
4. Can I use store-bought pie crust?
Yes! Store-bought or homemade both work perfectly. A ready-made crust makes this an easy dessert for beginners.
5. What’s the best way to store leftovers?
Refrigerate in an airtight container. For longer storage, freeze slices individually and thaw as needed for quick desserts later.
Butterscotch Pie
Ingredients
Method
- 1. Prepare the filling base: In a double boiler (or heavy-bottomed saucepan), whisk together brown sugar, cornstarch, salt, and milk.
- 2. Cook the mixture: Stir constantly over medium heat for about 20 minutes, until the mixture thickens and begins to bubble.
- 3. Add the eggs: Slowly whisk in the beaten egg yolks while stirring continuously. Continue cooking until the mixture becomes a thick custard.
- 4. Preheat the oven: Set the oven to 400°F (200°C) while preparing the pie filling.
- 5. Add butter and vanilla: Remove the custard from heat and stir in butter and vanilla extract until smooth and glossy.
- 6. Fill the crust: Pour the hot filling into the pre-baked pie crust and spread it evenly.
- 7. Bake: Place the pie in the oven and bake for about 5 minutes, just until the top begins to brown slightly.
- 8. Cool and serve: Allow the pie to cool completely at room temperature before slicing. Serve as-is or topped with whipped cream for extra decadence.